Tutorial 5
Tutorial 5 focus was on Cinemachine and post processing and adding these to my existing Windmill scene. Cinemachine gives more options for Camera behaviours in Unity and makes it much easier to do some effects you may see in video games or even movies.
I started with Cinemachine first and added a camera to the player with a close third person view from just above the barrel. Using the 3rd Person Follow option on the Body setting for the Virtual Camera along with a short camera distance and a small negative shoulder offset, I was able to position the camera very easily. This can be done with the standard Unity camera but it takes longer to get set up where as Cinemachine allows you to change settings very quickly with much more variety.


I then setup a dolly camera for when the player entered the warehouse. This camera is positioned at the entrance and tracks player while they are inside by following a path that I setup. This path can be as weird and bendy as you want and it will always follow the player. In the GIF below, you will see it in action.

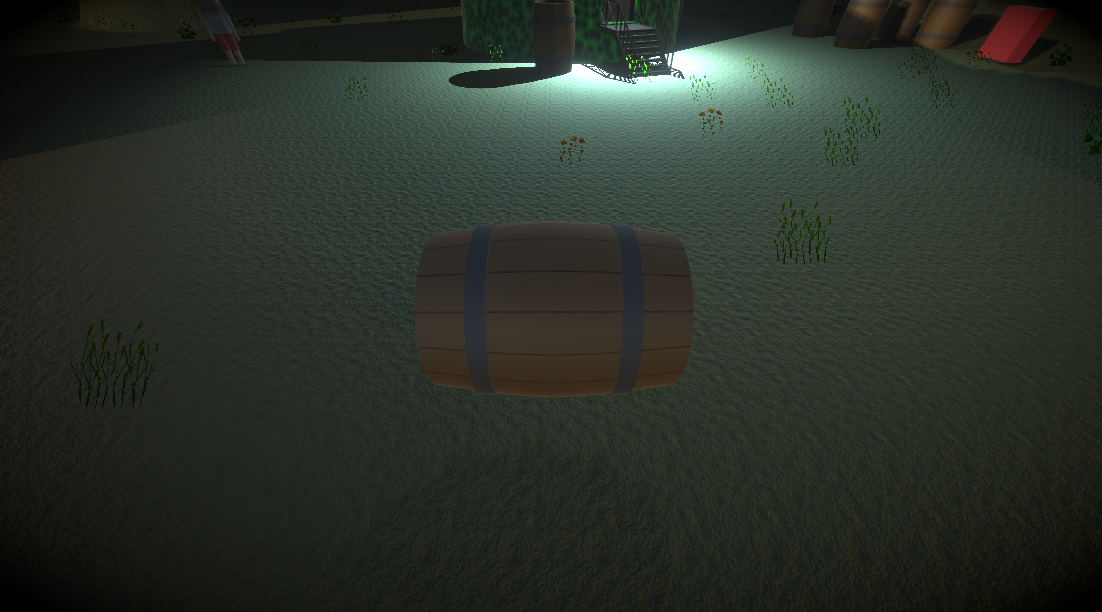
Next up was post processing which allows me to change the look of the game either a whole or for parts of the level. I started with adding global post processing to the players view which included a vignette (which you can see in the picture above). I then added a post processing volume which allows me to turn on or off a post processing effect. I added colour grading when the player goes inside the warehouse and made it a yellow colour as if the lighting inside the warehouse was bright.
You can see here the dolly camera in action along with the colour grading being applied once the player enters the warehouse and then stops once they leave.
I also added a grayscale effect but instead used it as an out of bounds warning effect. I couldn't figure out a way to do this with a post processing volume so I added a new box collider which acted as the bounds for the level, added a script to check when the player left this area, and then added another script to change the post processing profile which contained the grayscale effect. This turned out to work very well and looked like how other games visually display out of bounds to the player.
UTAS KIT 207 Portfolio
| Status | In development |
| Author | xenophaze |
More posts
- Self Study 5Aug 16, 2022
- Self Study 4 - Game IdeasAug 09, 2022
- Self Study 4 - UnityAug 09, 2022
- Tutorial 3Aug 09, 2022
- Self Study 3Aug 01, 2022
- Tutorial 2Jul 27, 2022
- Self Study 2Jul 26, 2022
- Tutorial 1Jul 23, 2022
- Self Study 1Jul 18, 2022
Leave a comment
Log in with itch.io to leave a comment.